The maintenance light on a Toyota 4Runner is a useful feature that alerts drivers when it’s time for routine maintenance. However, once the maintenance is complete, the light needs to be reset. Many drivers may find this process confusing or intimidating, but it’s actually quite simple.
To reset the maintenance light on a Toyota 4Runner, there are a few steps that need to be followed. First, the driver needs to turn the key to the “off” position. Then, they should press and hold the trip meter reset button while turning the key to the “on” position. Finally, the trip meter should be released and the button pressed again until the odometer reads “000000”. With these simple steps, the maintenance light should be reset and the driver can continue on their way with peace of mind.
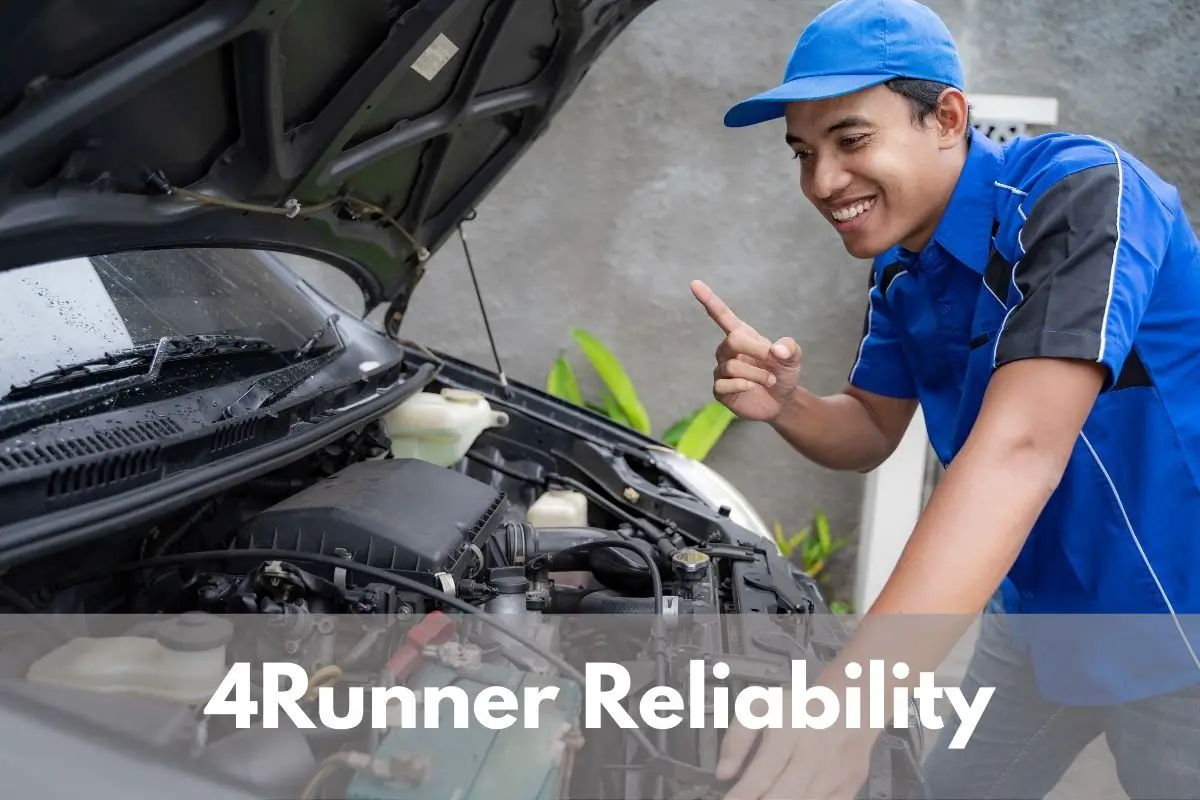
Understanding the Maintenance Light
When a Toyota 4Runner’s maintenance light comes on, it can be concerning for the driver. However, understanding the purpose of the maintenance light can help alleviate any worries and ensure that the vehicle is properly maintained.
The maintenance light on a Toyota 4Runner is a reminder to the driver that the vehicle is due for routine maintenance. This can include oil changes, tire rotations, and other regular maintenance tasks. The light is programmed to turn on after a certain number of miles or a certain amount of time has passed since the last maintenance was performed.
It’s important to note that the maintenance light is not the same as the check engine light. The check engine light is an indicator that there may be a problem with the vehicle’s engine or emissions system. If the check engine light comes on, it’s important to have the vehicle inspected by a qualified mechanic.
When the maintenance light comes on, it’s important to schedule an appointment with a Toyota dealership or a qualified mechanic to have the necessary maintenance performed. Ignoring the maintenance light can lead to more serious problems down the road and can even void the vehicle’s warranty.
In summary, the maintenance light on a Toyota 4Runner is a reminder to the driver that the vehicle is due for routine maintenance. It’s important to address the maintenance light promptly to ensure that the vehicle is properly maintained and to avoid more serious problems in the future.
Necessary Tools
Resetting the maintenance light on a Toyota 4Runner requires some basic tools. Here are the necessary tools that you will need:
- A paper clip or a jumper wire
- A pair of gloves
- A flashlight (optional)
A paper clip or a jumper wire is needed to short the connector of the OBD-II port. This is necessary to reset the maintenance light. It is important to wear gloves when working with the OBD-II port to avoid any injury. A flashlight can come in handy if you are working in a dimly lit area.
It is important to note that some Toyota 4Runner models may require additional tools to reset the maintenance light. It is recommended to check the owner’s manual for specific instructions. However, for most models, the above-mentioned tools are sufficient.
Preparation Steps
Vehicle Positioning
Before resetting the maintenance light on a Toyota 4Runner, it’s important to properly position the vehicle. The following steps should be taken:
- Park the vehicle on a level surface.
- Engage the parking brake.
- Turn off the engine.
Safety Measures
Safety is a top priority when working on any vehicle. The following safety measures should be taken before resetting the maintenance light on a Toyota 4Runner:
- Wear gloves to protect your hands from any sharp edges or hot surfaces.
- Use caution when working around the battery, as it contains corrosive acid and can produce explosive gases.
- Disconnect the battery before working on any electrical components.
- Follow all instructions and warnings in the vehicle’s owner manual.
By following these preparation steps, you can ensure that the vehicle is properly positioned and that all necessary safety measures have been taken before resetting the maintenance light on your Toyota 4Runner.
Resetting the Maintenance Light
Resetting the maintenance light on a Toyota 4Runner is a straightforward process that can be done by following a few simple steps. Here are the steps to follow:
Accessing the Odometer
To access the odometer, press and hold the trip reset button located on the dashboard. While holding the button, turn the key to the “on” position but do not start the engine. After a few seconds, the odometer display will show a series of dashes, which indicates that you have successfully accessed the odometer.
Reset Button Usage
Once you have accessed the odometer, release the trip reset button and then press and hold it again. While holding the button, turn the key to the “off” position and then back to the “on” position. Keep holding the button until the odometer display shows “000000”. At this point, you can release the button and the maintenance light should be reset.
It is important to note that the maintenance light may not turn off immediately after resetting it. It may take a few minutes of driving for the light to turn off. If the light does not turn off after a few minutes of driving, you may need to repeat the reset process.
In conclusion, resetting the maintenance light on a Toyota 4Runner is a simple process that can be done by accessing the odometer and using the reset button. By following these steps, you can ensure that your vehicle is properly maintained and running smoothly.
Post-Reset Confirmation
After resetting the maintenance light on a Toyota 4Runner, it’s important to confirm that the reset was successful. This will ensure that the vehicle’s maintenance schedule is accurately tracked and that any potential issues are addressed in a timely manner.
To confirm that the maintenance light has been reset, follow these steps:
- Turn the ignition key to the “On” position, but do not start the engine.
- Look for the maintenance light on the dashboard. If the light is still illuminated, the reset was not successful and needs to be repeated.
- If the maintenance light is not illuminated, turn the ignition off and wait for a few seconds before turning it back on. This will allow the vehicle’s computer to complete its diagnostic checks.
- Start the engine and let it run for a few minutes. During this time, check the dashboard for any warning lights or messages that may indicate an issue with the vehicle.
- If everything appears to be in order, take the vehicle for a short drive to ensure that it is running smoothly.
It’s important to note that resetting the maintenance light does not necessarily mean that all maintenance tasks have been completed. It simply resets the system to track the next scheduled maintenance interval. Always refer to the vehicle’s owner’s manual for specific maintenance recommendations and schedules.
By following these steps, drivers can ensure that their Toyota 4Runner is properly maintained and running smoothly.
Potential Issues
Unresponsive Light
If the maintenance light fails to turn off after resetting it, there may be an issue with the system. A common cause of an unresponsive light is a faulty sensor. If this is the case, the sensor will need to be replaced by a professional mechanic. Another possible cause is a malfunction in the vehicle’s computer system. In this case, the vehicle may need to be taken to a dealership for further diagnosis and repair.
Recurring Light
If the maintenance light continues to come on after resetting it, there may be an underlying issue with the vehicle that needs to be addressed. It is important to determine the cause of the recurring light to prevent further damage to the vehicle. Some common causes of a recurring light include:
- Low oil pressure
- Faulty oil pump
- Clogged oil filter
- Faulty oxygen sensor
- Malfunctioning catalytic converter
If any of these issues are present, they will need to be addressed by a professional mechanic to prevent further damage to the vehicle.
It is important to note that resetting the maintenance light does not fix any underlying issues with the vehicle. It is simply a way to remind the owner to perform routine maintenance. If the light continues to come on after resetting it, it is important to have the vehicle inspected by a professional mechanic to ensure that it is safe to drive.
When to Seek Professional Help
If the maintenance light on a Toyota 4Runner continues to illuminate even after resetting it, it may be an indication of a more serious issue with the vehicle. In such cases, it is recommended to seek professional help to diagnose and fix the problem.
Additionally, if the vehicle is experiencing any other issues or warning lights, it is best to have it inspected by a certified mechanic to ensure that it is safe to drive. Ignoring warning signs or attempting to fix the issue without proper knowledge or tools can lead to further damage to the vehicle and potentially put the driver and passengers at risk.
It is important to note that attempting to reset the maintenance light without actually addressing the underlying issue can also be problematic. This can result in the light continuing to illuminate and potentially causing the vehicle to fail an emissions test or other inspection.
Overall, if there are any concerns or doubts about the maintenance light or any other issues with the Toyota 4Runner, it is best to seek the advice and assistance of a qualified professional.